Page 22 of 24
Re: Day One - New Project
Posted: Fri Oct 07, 2016 12:59 pm
by Bill2001
My BMW R-bike uses the same "tangless" wire piston-pin clips, and I've always put the gap at the bottom. I've had a couple pop loose, but for the most part it works. I tgink you are on the right track.
Increasing the piston clearance won't hurt on a seizure-prone setup like this. After we cleaned up the bore, the clearancre was a tad over four-thou with a new piston. May slap a little when cold, it should be fine when it is at running temp. When I pull the pipe to weld on the EGT probe fitting, I'll see how the piston lookd thru the Exh port. I'll have about 5 miles and 4 hours on the new top-end by then.
Re: Day One - New Project
Posted: Sun Oct 30, 2016 3:03 am
by DGardner
Max......How is the day one project coming along? I hope good! DG
Re: Day One - New Project
Posted: Sun Oct 30, 2016 4:25 am
by hodakamax
Ah Doug, strange that you should ask! I was just preparing a mini report to update the masses on progress. I've had a major distraction trying to repair and paint part of the house before winter sets in. I thought I was done but I wasn't! Mission accomplished in that area just yesterday. As for the project, the cylinder bore has been cleaned up and clearance increased from .002'' to .003''. I think it was just too tight for a forged piston and an iron barrel. New pin clips have been installed and I think I'll remove the silencer/stinger before starting to see if that was part of the problem.
I think the missing clip mystery has been solved also. I really hate to admit it but it appears to be human error, namely me. While installing the pipe yesterday I dropped a spacer which rolled under the edge of a nearby refrigerator. I retrieved it and also found the missing pin clip and began to piece together what had happened. I put the first clip in on the bench and oriented where the ends were on either side of the access notch. I then installed the piston and pushed the tangless clip into the piston. It clicked and appeared to seat in the groove. I checked to see if the clip ends were not in the access notch and they were not. They were under the refrigerator. When the tangless clip is seated it is really hard to see and I assumed all was well. Another life lesson but I did fess up to a dumb mistake and I am honest! At least we got a great discussion on pin clips and the expansion of metals with cool actual experiments and measuring devices, not all bad.
Anyway, that's an update and confession and hopefully we'll be firing up soon! Thanks for your interest!

Max
Re: Day One - New Project
Posted: Sun Oct 30, 2016 1:57 pm
by matt glascock
Hey Maxie, while you were under there, did you notice if your pin clip was having a party with all the control shaft snap rings I've launched before I scored the magic snap ring tool?
Re: Day One - New Project
Posted: Sun Oct 30, 2016 2:37 pm
by hodakamax
Ah Matt, Max owns a large magnet that I use to find flying things. The spacer I dropped was aluminum so this find was a visual. As you get older this all seems to be a gremlin plot to test your endurance in later life. How else could things escape that easily? We does the best we can.

Max
Re: Day One - New Project
Posted: Sun Oct 30, 2016 3:26 pm
by matt glascock
Aha! That would explain why I seem to be putting about 3 miles of wear and tear on my personal chassis for each one I clock. Evil plot, indeed!
Re: Day One - New Project
Posted: Mon Oct 31, 2016 10:21 am
by hodakamax
A brief report on the project. I'm cautiously optimistic after some slow break-in sessions for several minutes and some cooling sessions in-between all without my experimental silencer/stinger combo. I re-installed the assembly and didn't notice any change in performance but quite the change in decibels. Looks like the muffling will be sufficient for trail. The engine also seems noticeably freer and gets better after each session. I think the tight clearances was the problem and the engine was dragging which made tuning impossible. I'm going really easy on the break-in and I'm looking forward to trying Ed's different air slides once things get sorted out.
Max
Re: Day One - New Project
Posted: Thu Nov 10, 2016 3:34 am
by hodakamax
Hi Gang, Here's a minor new problem concerning the new Clarke fuel tank. After fueling, the tanks surface seems to be outgassing causing bubbles under the vinyl graphics. I iron them down daily to no avail. I'm considering two options, one being painting of the tank to seal it or the other one the sealing the tank from the inside. Has anyone painted their plastic Clarke tank and was it successful? I hate to give up on the cool graphics as it was part of the design. Any thoughts? I'm off to the Graphics guy for his ideas.
As for the engine, I've been sidelined (quite a story in itself) yet again but may mess with again today. I've done several slow and easy break-in runs with intermittent cooling and the engine sounds good but still exhibits a slight stumble off of idle and is quite cold blooded. I may try a richer pilot jet and air slide combos today. I have a friends NOS carb that I can also try as a different set up. Winter's coming and I need to get with it and get the final story pictures of it in its native habitat, namely trailing!
Anyway, minor report on the bike and checking in socially!
Max
Re: Day One - New Project
Posted: Thu Nov 10, 2016 6:11 am
by Bullfrog
While I don't know the solution to the problem, it is my understanding that ALL plastic tanks allow some vapor migration through the tank walls.
Ed
Re: Day One - New Project
Posted: Thu Nov 10, 2016 6:18 am
by hodakamax
Hmm--A small shiny aluminum tank could look good on the project, something along the same lines--Just dreamin' but maybe. One step at a time, I'm headed to the shop for some Hodaka tuning! This may be a lifelong project!

Max
Re: Day One - New Project
Posted: Thu Nov 10, 2016 6:23 am
by tvrc18
Use graphics that have the little holes in them, can't recall what they call them but they use them on Yamaha plastic gas tanks and Can Ams.
Terry
Re: Day One - New Project
Posted: Thu Nov 10, 2016 6:29 am
by hodakamax
Hey thanks Terry, I'll run that by the Graphics guy and see what materials may be available.
Max
Re: Day One - New Project
Posted: Thu Nov 10, 2016 6:32 am
by DGardner
This tank would look great on the hodaka.
Re: Day One - New Project
Posted: Thu Nov 10, 2016 7:04 am
by viclioce
So Maxie. Have you actually put sonezsadfle time in on this bike yet? Just curious to see what you think about how it runs & rides! ; D Victor
Re: Day One - New Project
Posted: Thu Nov 10, 2016 2:14 pm
by hodakamax
Victor, things are looking up and it's had a little break-in/trail time. The bike is actually fairly peppy and fun to ride. There's still tuning and experimentation going on to improve the torque coming off of idle. Thanks for asking and I'll have a more complete report and action pictures soon.
Max
Re: Day One - New Project
Posted: Fri Nov 11, 2016 5:42 am
by hodakamax
Hey everyone, thanks for the comments on plastic tanks. I even got an E-mail from Greg (AZ) with links and info on this issue which is more common than I was aware of. I've learned several shall we say "lessons" on this project only one of which is the permeability of plastic fuel tanks. I'm trying to put together an article on the project and the last step this weekend will be photography of the final product in action. If I can keep the graphics on for this weekend photography session it will be mission accomplished! It's real life will now be a fun rider, graphics or no graphics.
I spent quite a bit of time yesterday trying different combinations of carbs and jets and arrived at a rideable balance. The engine is strong mid range and on trails performs quite well. There still seems to be the problem of torque coming off of idle. At really low RPMs, rather than accelerating smoothly with slight throttle application, it requires much more throttle than one would expect for a trials type bike. Improvements are coming but slowly. Ed loaned me a set of slides and one improvement was going to a 1.5 slide. More testing today hopefully, and actually the bike performs normally but not up to the torque gains I had hoped for. I'll try a few more combos today with and without the carb leveling extra intake manifold. All kinda fun, I'll keep you posted!
Max
Re: Day One - New Project
Posted: Fri Nov 11, 2016 7:04 am
by DGardner
Max check this out on carb signal.
http://www.klemmvintage.com/mikuni-tuning.htm
How “Signal” Affects Jetting - The subject of inlet signal can be very lengthy and complex, so we will stay with an abbreviated version as it relates to your jetting.
Many folks believe that air entering the mouth of the carb is what picks up the fuel from the jetting circuits … and that is false. In truth, the crankcase of your 2-stroke sends a negative pressure wave (aka “signal”) up the inlet port from the crankcase, and that negative pressure wave literally draws fuel from the jetting circuits, as well as air in through the carb mouth. While it sounds like two different ways of saying the same thing, the difference becomes important. For instance, if you install an aftermarket inlet manifold that has a much larger internal volume, the “signal” is very much weakened by that added volume. Weaker signal results in ideal carb settings that will change alot with changes in altitude and temperature (as well as much harder starting). An inlet with “strong signal” offers much easier starting, and can easily accommodate big changes in altitude and temperature with no need for jetting changes. The table below explains more.
Increases Inlet Signal (good)
Decreases Inlet Signal (bad)
Smaller Carb Throat
Excessively Large Carb Throat
More Restrictive Air Filter
Less Restrictive Air Filter
Pod Filter on Rubber Inlet Tube
Pod Filter on Carburetor
Decreased Inlet Tract Volume
Increased Inlet Tract Volume
Proper Fitting Carb Slide
Loose Fitting Carb Slide
Tight Sealing Reeds
Fractured or Poor Sealing Reeds
Reed Cage Stuffer
Reed “Spacer”
The point of all this, is to show that many “non-carb” related items can make it much harder to tune your carb perfectly. A 125 that is fitted with a new large inlet manifold and a 36mm carb will be very hard to jet properly because the inlet signal from the crankcase has been so badly weakened by the added volume. It is often wiser to increase to just a 32mm carb, and the smaller volume manifold used for the 32. The 36mm carb can be made to work on a 125, but it will need constant fine tuning for changing air conditions. The 32mm will tune much easier, and require far less future tuning.
The two manifolds on the left are both for a CZ400 motocrosser. The cast manifold on the right was made very long so the carb would reach nicely to the airbox with a short rubber tube, but that added inlet-tract length significantly increased the internal volume … and that added inlet-tract volume significantly weakens inlet signal. The billet manifold on the left has a much smaller internal volume that strengthens inlet signal. The two manifolds are marked with their respective internal volumes (in cubic-centimeters). Reducing that volume by 53cc will make for a huge improvement in overall throttle response as well as much easier starting.
Increasing inlet volume to make for a closer fit to the airbox is much like putting shorter shocks on an MX bike so your feet more easily reach the ground … Both “sound” like a good idea, but functionally-speaking, both are a very bad idea. The designer of this large cast manifold certainly had the best of intentions ... but sadly, not much of an understanding of the importance of inlet signal.
The photo on the left shows the carb mounted on the short billet manifold. The reduced inlet volume resulted in easier starting, quicker throttle response, and much better overall carburetion. A slightly longer air boot was needed to reach the airbox, but that length does not harm performance in any way.
Re: Day One - New Project
Posted: Fri Nov 11, 2016 8:58 am
by Bill2001
Very good reference! For those of us who learned catbs&jetting on a four-stroke need a little rethinking.
Very important part of the reference is thr last part: "protocols for jetting". There are so many details.
Re: Day One - New Project
Posted: Fri Nov 11, 2016 10:41 am
by hodakamax
Hey thanks Doug for your info. I proceeded with the leveling extended manifold as Harry Taylor had tested as a proven concept. I even tried it both ways initially but didn't realize that other problems were confounding my jetting attempts, namely not enough clearances and a dragging engine. I was detracted from testing today but I do indeed plan to run these tests again now that clearances have been increased and optimum jetting is getting close. I appreciate your taking the time to write all of that and that is certainly suspect. I'll give a report soon.
Max
Re: Day One - New Project
Posted: Sat Nov 12, 2016 7:22 am
by hodakamax
Hmm--No difference with or without the extra length leveling manifold except the extreme angle of the carb without the manifold creates a lean condition when going down even slight long hills as noted with an increase in idle speed. I suppose I could adjust the float level but since there's no difference in the two I'm back to the leveling manifold. Reading Harry Taylor's report again his successful trials machine used almost the exact set-up I have. Same carb with leveling manifold and same lengthening of the header pipe. He did use model 93 model intake and I used the 94A one which appears to have slightly more volume. He used the phenolic heat spacer which would have extended it further out. I'm about to rule out the manifold being the problem. He used a Bultaco short muffler compared with 94A exhaust. Again the bike rides normal even with a startling burst of power just after the so-so performance off of idle. Curious, one hates to build a whole new exhaust system that also makes no difference. I'm off to try some different carb set-up. Today my step-son/photographer person is coming for the final action photos in the woods with real cameras. Actually I am a photographer but we do need me to ride it! All sounds fun to me! Report soon.
Max
Re: Day One - New Project
Posted: Sun Nov 13, 2016 8:17 am
by hodakamax
Here are a couple of shots from the photo shoot. Mission accomplished despite the bike acting up and finally stalling due to a clogged pilot jet (See Beware the Red Rag post today). Luckily we did fairly well on photography and got what we were after before the shoot was given up for the day due to failing light and a poor running engine. Little will they know that an old guy is driving from the pictures.
Who was that masked man?
Maxie
PS--Open these up and see what a fine job my step son/Photographer did. Almost as good as me I told him!
Re: Day One - New Project
Posted: Sun Nov 13, 2016 9:01 am
by viclioce
Very cool! He did a nice job with the rider hamming it up in the first pic and hammering it down in the second!!! ; D Victor
Re: Day One - New Project
Posted: Sun Nov 13, 2016 1:34 pm
by matt glascock
Maxie, are you rockin' a little drift there on the second shot? Great bike. Congratulations on a fine project!!
Best,
Matt
Re: Day One - New Project
Posted: Fri Dec 16, 2016 2:28 pm
by Bullfrog
Maxie,
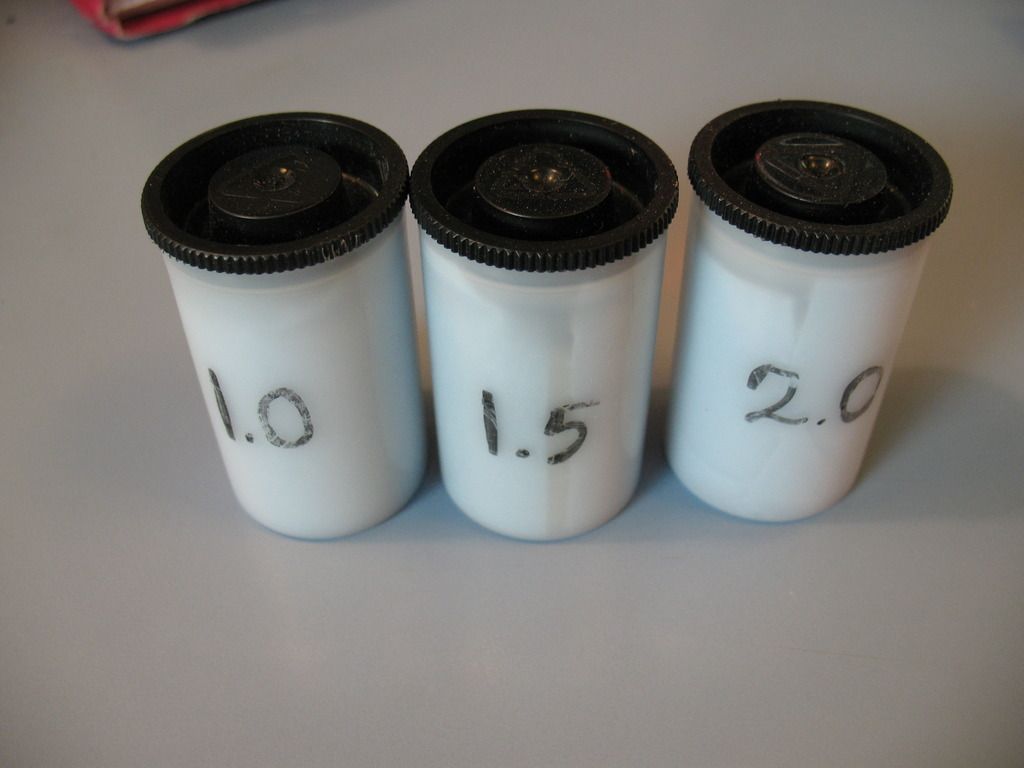
I'm wayeeee late on responding . . . but the borrowed carb slides got here sometime before Thanksgiving. And thanks for the nifty custom protectors for the slides! They really beat the individual zip lock bags I wuz using! Thanks also for the donation to the "loaner item shipping fund" - you are gentleman and a scholar (as we used to say back in the middle of the last century).
Ed
Re: Day One - New Project
Posted: Sat Dec 17, 2016 3:18 am
by hodakamax
Ah, you're the one to thank! How else would one be able to try all those different slides? Thanks again!
Maxie
PS-- the Day One Project has gone into hibernation and is sleeping in the heated shop awaiting spring. A stiff north wind is blowing as we speak and the forecast is calling for snow and ice with a low tonight of 2 degrees, Brrrr.
